


Sidelight Glass Repair: Don’t Let a Crack Ruin Your View
Understanding Sidelight Glass and When Repair is Necessary
Sidelight glass repair in Riverside, CT addresses one of the most visible and functional elements of your home’s entryway. Whether you’re dealing with a crack, foggy condensation, or a complete break, here’s what you need to know:
Quick Answer: Can You Repair Sidelight Glass?
- Yes, glass-only replacement is possible when the frame is intact ($100-$300 per pane)
- Replacement takes 1-2 hours for a single pane with basic tools
- You’ll need: putty knife, silicone caulk, tempered glass, pin nailer, and safety gear
- Professional help recommended for: foggy double-pane glass, frame damage, or full unit replacement
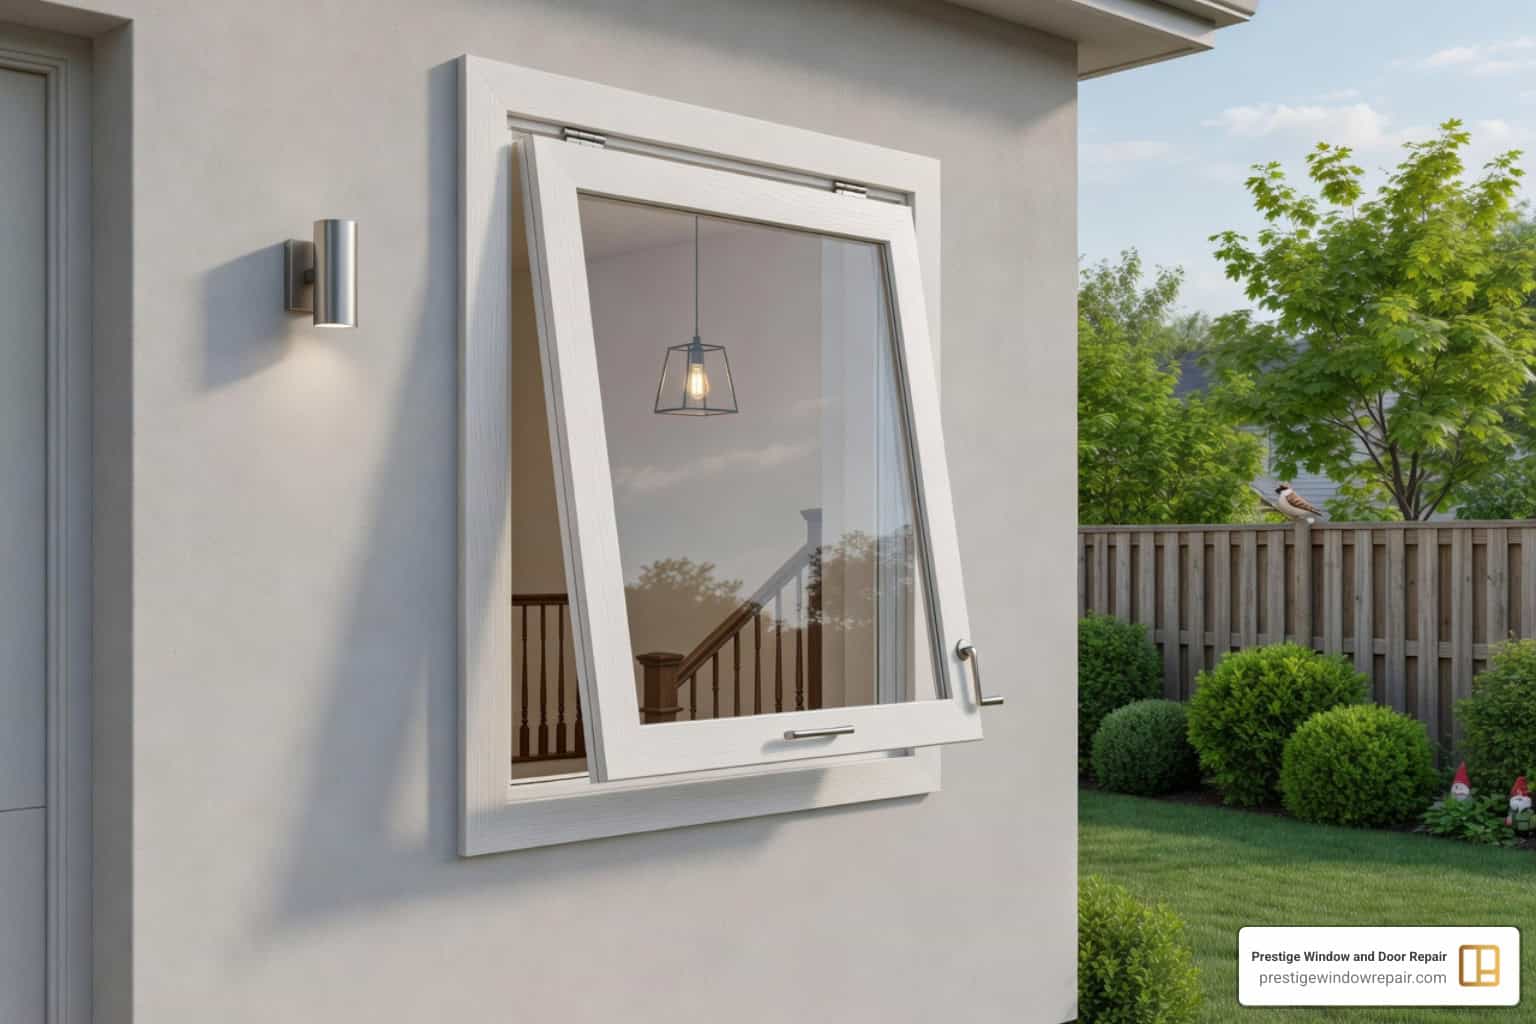
Sidelights are the tall, narrow windows flanking your front door. They serve multiple purposes—flooding your entryway with natural light, creating an open and welcoming feel, and adding architectural interest to your home’s exterior. Many homeowners choose frosted or textured glass for privacy while still enjoying the benefits of daylight.
When sidelight glass cracks, fogs up, or develops condensation between panes, it compromises both your home’s appearance and energy efficiency. The good news? In most cases, you can replace just the glass panel without removing the entire door or frame. The glass sits sandwiched between interior and exterior molding strips (typically 3/4 inch thick), making it accessible for targeted repairs.
As Andrew Lukas, owner of Prestige Window and Door Repair, I’ve helped countless homeowners restore their entryway sidelights through careful glass replacement and frame preservation. My experience with sidelight glass replacement in Riverside, CT has shown that proper diagnosis and the right approach can save thousands compared to unnecessary full-door replacements.

Identifying the Need for Sidelight Glass Repair
How do you know if your sidelights are just “showing their age” or if they are in desperate need of a professional touch? Identifying the signs early can prevent more expensive damage to your door frame and home interior.
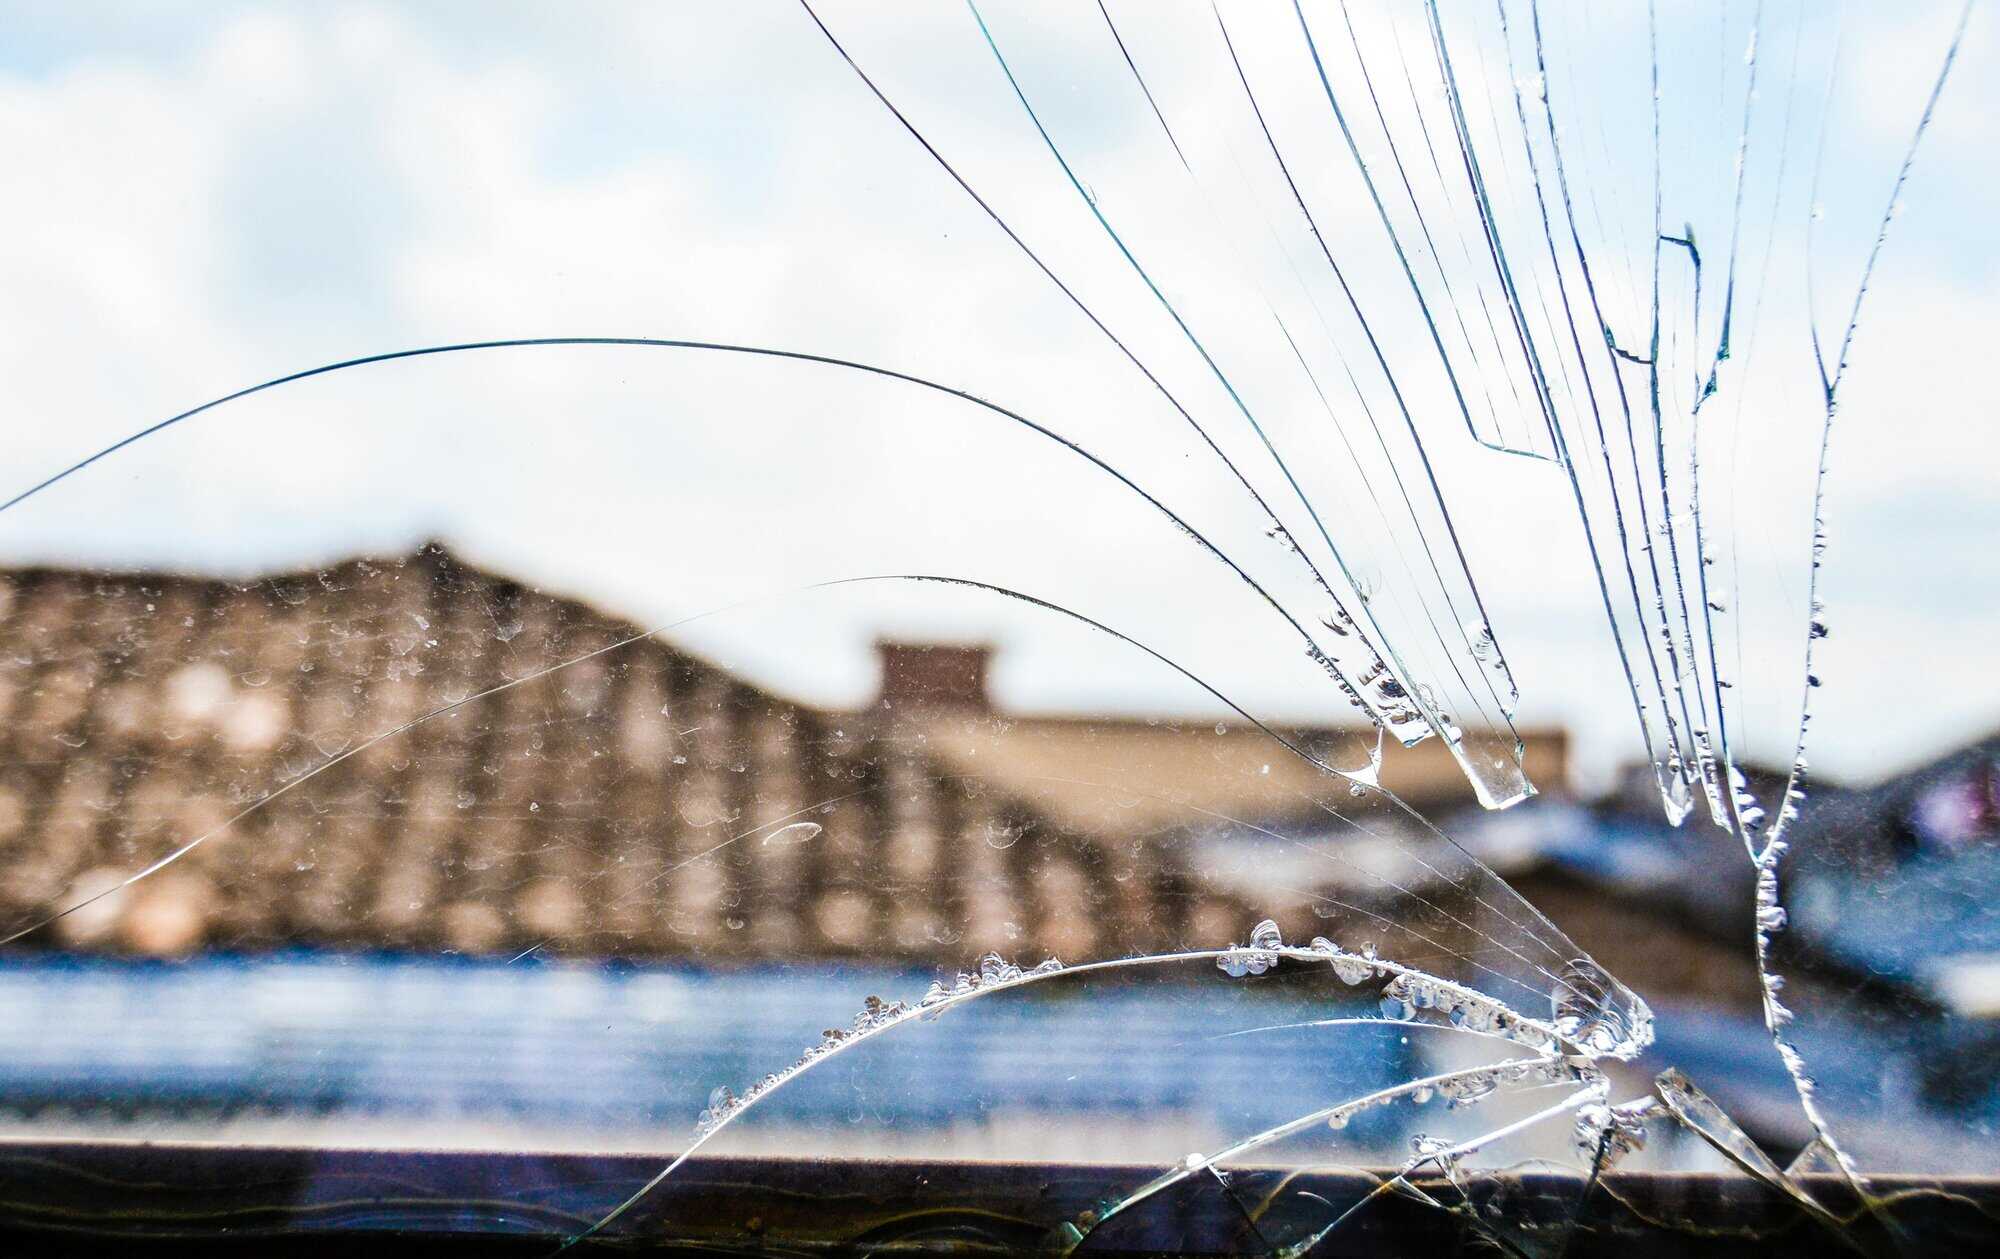
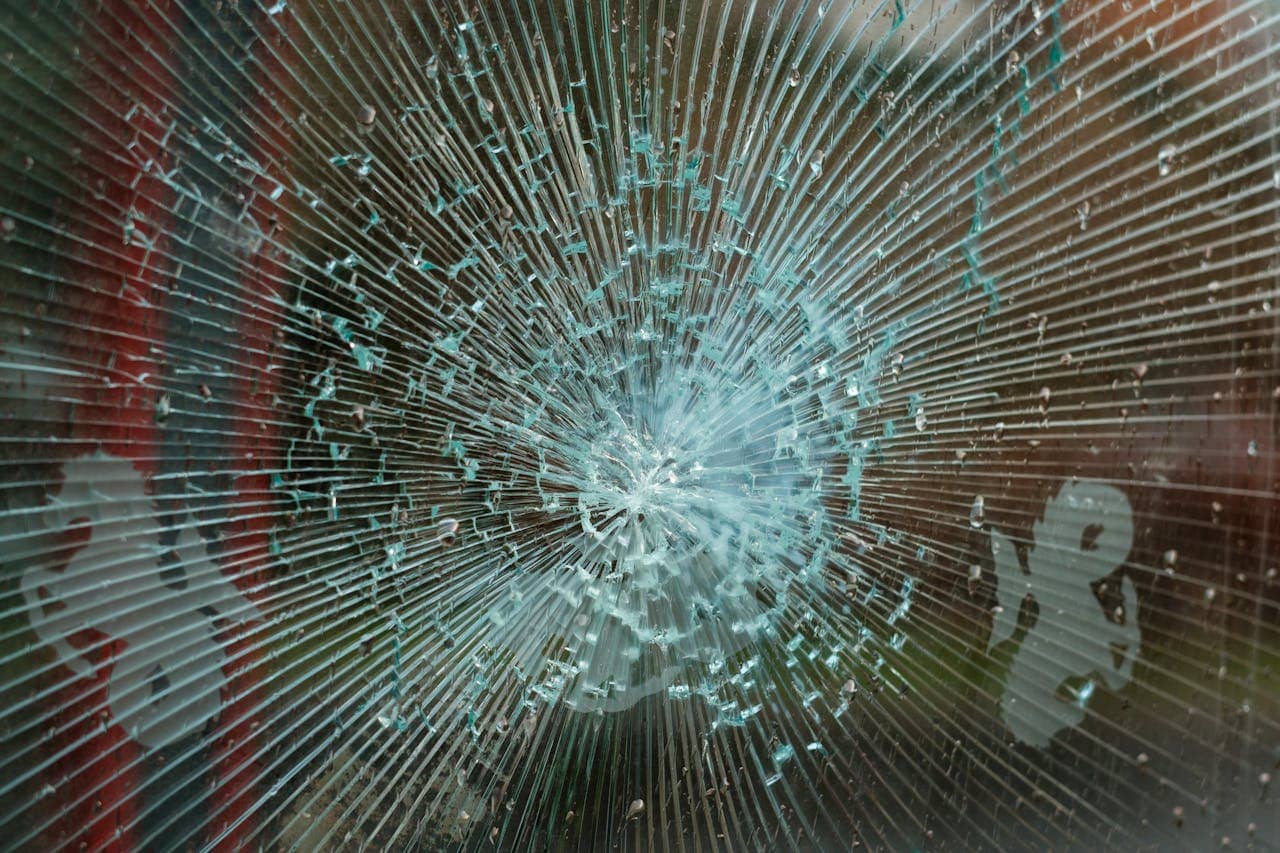
One of the most obvious signs is broken or cracked glass. Whether it was a stray baseball or extreme temperature fluctuations, a crack is more than just an eyesore; it’s a security risk and a gateway for moisture. If you notice fogging or condensation trapped between the panes of a double-glazed unit, this is a clear indicator of seal failure. Once the seal breaks, the insulating gas escapes, and your home energy efficiency takes a hit.
Other red flags include:
- Drafts: If you feel a breeze coming from the side of your door even when it’s shut tight, the weatherstripping or the glass seat has likely failed.
- Rattling: When you close the front door, do the sidelights shake? This suggests the molding or the sealant holding the glass in place has loosened.
- Water Leaks: Seeing puddles on your entryway floor after a rainstorm? This often points to ineffective seals between the glass and the frame.
- Warped Frames: Especially common in older wood units in the humid climates of New Rochelle or Stamford, warping can prevent the glass from sitting securely.
If you’re seeing these issues, it might be time for Side Light Panel Glass Replacement. A quick visual inspection can tell you a lot—look for flaky white deposits inside the glass (mineral buildup from evaporated moisture) or visible gaps in the caulking.
Essential Tools and Materials for DIY Sidelight Glass Repair
If you’re a handy homeowner in Greenwich or Riverside, CT and want to tackle a single-pane glass replacement yourself, you’ll need a specific set of tools. Sidelight glass repair in Riverside, CT isn’t necessarily complicated, but it does require precision.

Before you start, gather these essentials:
- Safety Gear: This is non-negotiable. Wear heavy-duty gloves, long sleeves, and safety goggles to protect against shards.
- Putty Knife & Chisel: Used for prying off the delicate wood molding without snapping it.
- Diagonal Pliers: Excellent for pulling out the old pin nails left in the frame.
- Measuring Tape: You’ll need to measure the “cutout” size. Pro tip: The glass is usually about 2 inches smaller than the outside of the plastic or wood frame.
- Silicone Caulk & Caulk Gun: To create a weather-tight seal.
- Pin Nailer: To secure the molding back in place.
- Tempered Glass: Most building codes in Connecticut and New York require tempered glass for any window near a door for safety.
- Suction Cups: These help you handle the glass safely without smudging the interior or dropping it.
For a more detailed look at the specifics, you can refer to this step-by-step glass panel replacement guide.
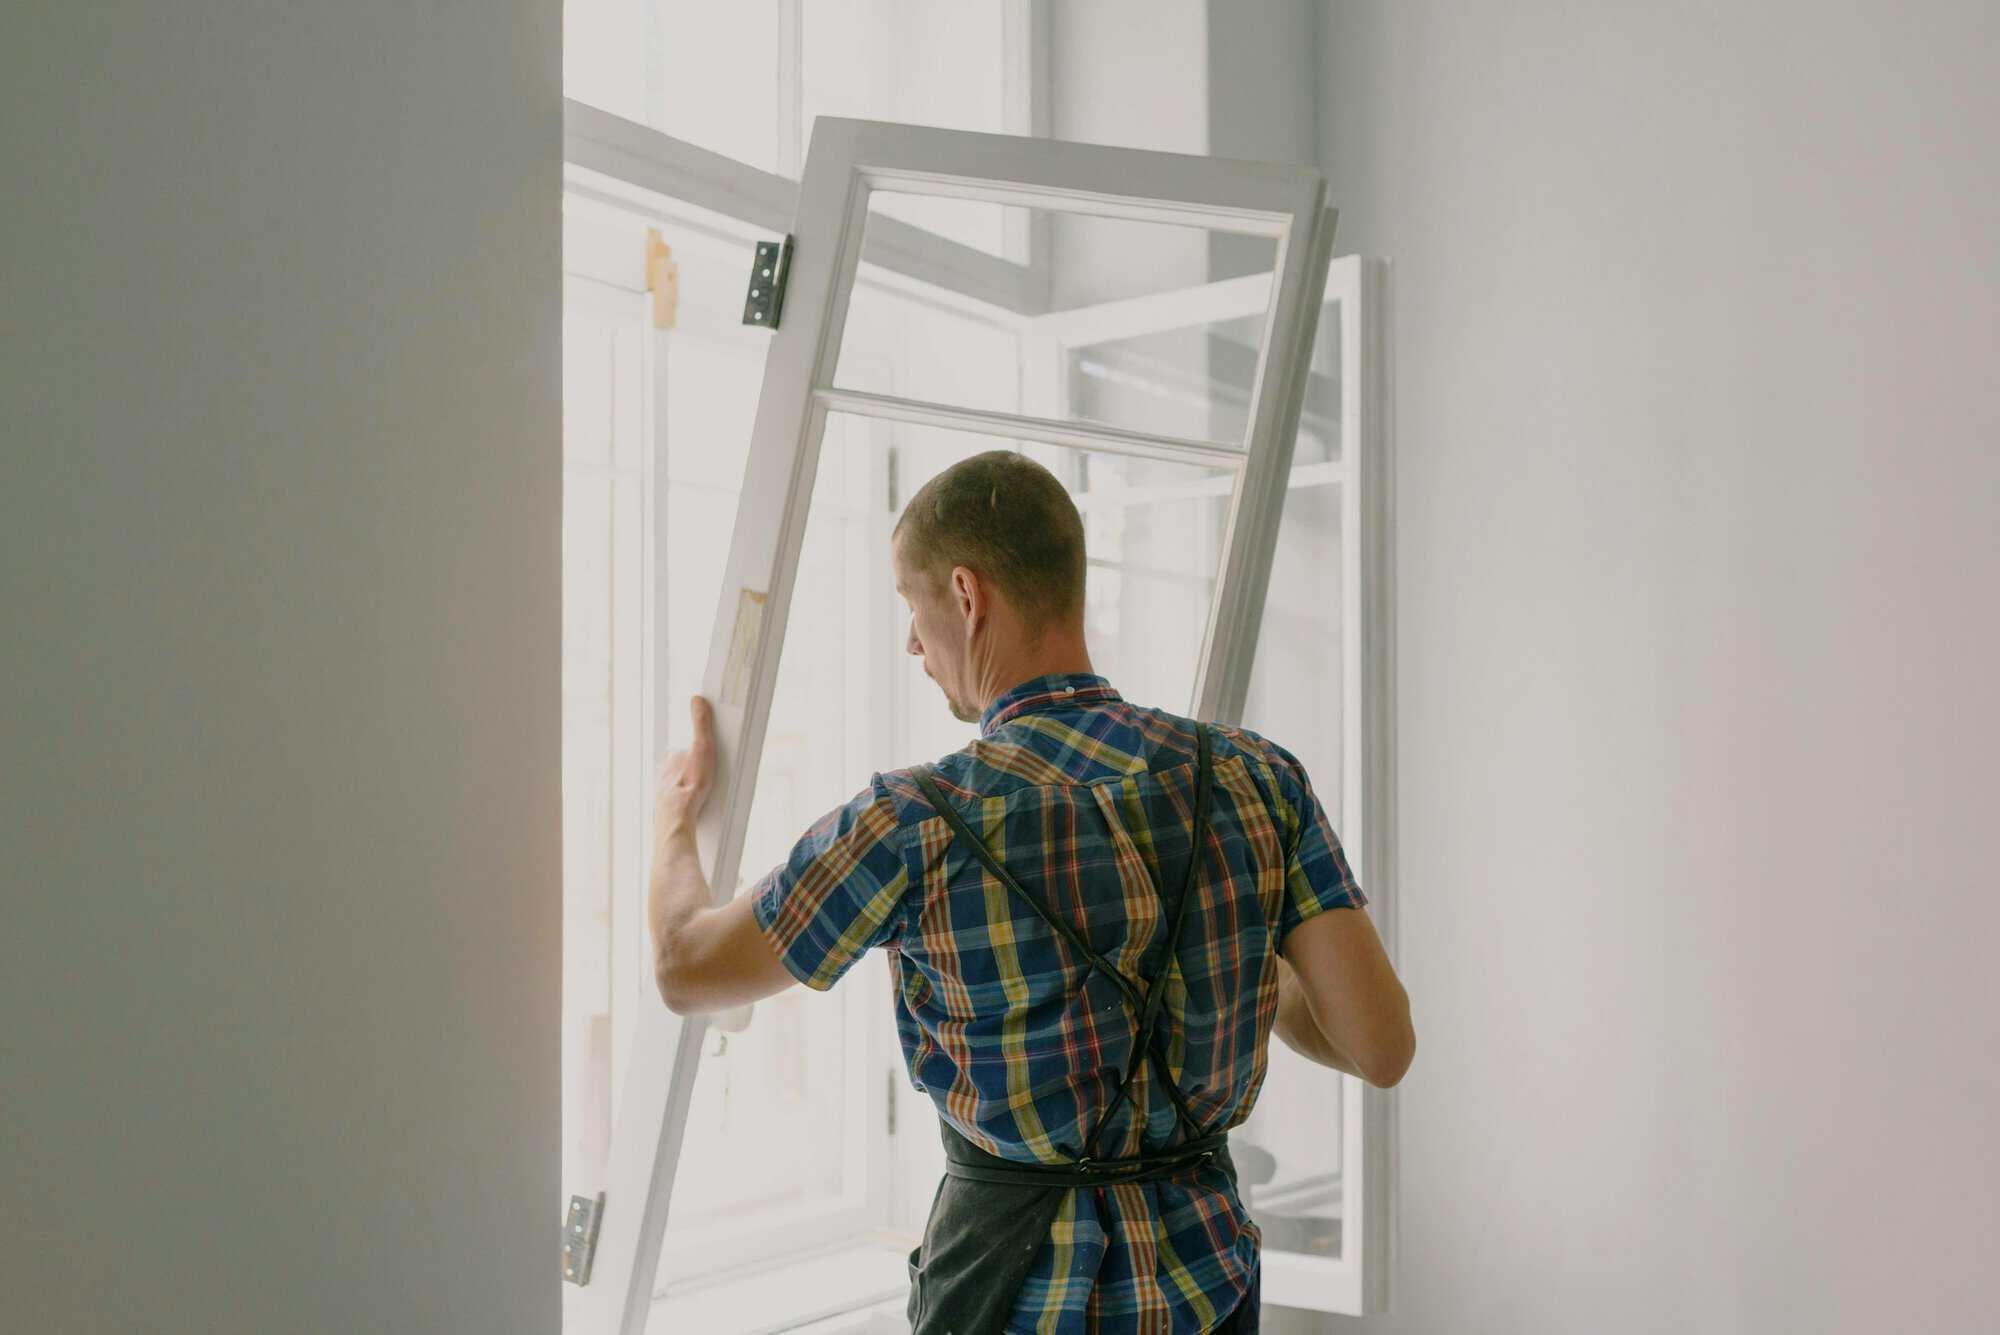
Step-by-Step Guide to Sidelight Glass Replacement
Ready to get to work? Replacing the glass in a sidelight typically takes about an hour if you have the materials ready. We always recommend having a partner nearby to hold the glass while you work on the molding.
1. Molding Removal and Caulk Cutting
First, use a utility knife to carefully cut through the caulking or paint seal around the perimeter of the molding. Sidelight glass is usually held in place by 3/8-by-1/2-inch quarter-round wood molding. Start on the interior side. Gently insert your putty knife between the molding and the frame, rocking it back and forth to loosen the pin nails.
Pro Tip: Keep the molding pieces in order! Label them “Top,” “Bottom,” “Left,” and “Right” so they fit perfectly when you put them back. If you’re working on a project like our Side Light Glass Replacement in Darien, CT, you’ll know that preserving the original molding is key to a seamless look.
2. Glass Extraction
Once the molding is off, the glass might still be stuck to the exterior caulk. Use your putty knife to gently pry it forward. Have your partner stand on the other side to ensure the glass doesn’t fall outward. Once free, carefully lift the glass out and set it aside for safe disposal.
3. Preparing the Frame for New Glass
This is the most overlooked step. You must remove all the old sealant, debris, and grit from the frame. If the frame is wood and shows signs of minor rot, sand it down and apply a primer. A clean, smooth surface is the only way to ensure your new sidelight glass replacement lasts for years.
4. Installing the Replacement Sidelight Glass
Apply a thin, 1/8-inch bead of high-quality silicone caulk along the “bed” of the frame where the glass will rest. Carefully set your new tempered glass into the opening, pressing it firmly into the caulk to create a seal.
If you’re doing a Side Light Door Glass Replacement in Rye, NY, you’ll notice that centering the glass is vital for both aesthetics and weatherproofing.
5. Finishing Touches
Reinstall the molding. Use a small wood block and a hammer to gently tap the mitered corners back into place. Secure the molding with a pin nailer, angling the nails at about 30 degrees to avoid hitting the glass. Finally, apply a fresh bead of caulk to the exterior side and fill any nail holes with a color-matching putty stick.
Choosing the Right Glass for Your Entryway
When replacing your sidelight glass, you aren’t stuck with what was there before. This is a great opportunity to upgrade your home’s look and performance.
| Glass Type | Privacy Level | Energy Efficiency | Best For… |
|---|---|---|---|
| Clear | Low | Standard | Maximum natural light and views. |
| Frosted/Textured | High | Standard | Privacy while still letting light filter through. |
| Low-E | Medium | High | Reducing heat transfer and UV damage. |
| Decorative/Stained | Medium-High | Variable | Adding a unique, artistic touch to the home. |
| Hurricane Impact | Low-High | High | High-wind areas and enhanced security. |
If you want to go big, you can even look into customizing with transoms to create a grand “wall of glass” entrance. For those in our service areas like Scarsdale or Mamaroneck, choosing Prestige Window and Door Repair is a smart move to keep those New York winters at bay.
Frequently Asked Questions about Sidelight Glass Repair
Can I replace just the glass without replacing the entire door?
Absolutely! This is a common misconception. Most sidelights are built so the glass can be swapped out independently. Even if your door and sidelights were sold as a “pre-hung unit,” the glass is held in by molding that can be removed. Replacing just the glass is significantly cheaper—often costing a few hundred dollars versus several thousand for a full door system.
Is sidelight glass repair a safe DIY project?
It is a manageable project for someone with intermediate carpentry skills. However, it does carry risks. Working with broken glass is inherently dangerous, and if the new pane isn’t sealed perfectly, you could end up with water damage inside your walls. Furthermore, if you don’t use tempered glass, you might be in violation of local building codes in places like Norwalk or White Plains. If you’re uncomfortable with a pin nailer or heavy glass, it’s always safer to call the pros.
Conclusion
Your front door is the “handshake” of your home. Keeping your sidelights in top shape ensures that handshake is warm, bright, and secure. Whether you’re dealing with a minor crack or a foggy view, sidelight glass replacement in Riverside, CT is a cost-effective way to boost your curb appeal and energy efficiency.
At Prestige Window and Door Repair, we specialize in these delicate fixes. We serve a wide range of communities, including New Rochelle, Greenwich, Stamford, and Scarsdale, providing long-lasting solutions that big-box stores simply can’t match. We take pride in our “glass-first” approach—if we can save your beautiful door by simply replacing the glass, that’s exactly what we’ll do.
Ready to see clearly again? For Professional Sidelight Panel Glass Replacement that stands the test of time, reach out to us today. We’ll help you find the perfect glass solution for your home’s unique style and needs.
Let our on-site experts handle all your repair and replacement needs!
other posts
Window Pane Replacement: How Single-Pane Damage Can Be Fixed Without Replacing the Entire Window
Window pane replacement doesn't mean replacing the whole window. Learn when the frame stays put and what the full repair process looks like.
DIY Awning Window Glass Repair: Practical Tips
Looking for awning window glass replacement in Larchmont, NY? Dive into this DIY step-by-step guide, covering tools, safety tips & cost-saving vs. pro services.
Glass Repair: When to Fix Cracked Glass and When Replacement Is the Better Option
Glass repair isn't always the answer. Find out when fixing cracked glass actually works and when full replacement is the smarter, safer call
Sliding Glass Door Repair: Fixing Sticking Tracks, Broken Rollers, and Misalignment
Sliding glass door repair starts with knowing what's causing the problem. Learn what's behind sticking tracks, worn rollers, and misalignment.
Broken Window Repair: Quick Steps to Secure Your Home and Restore Safety
Broken window repair starts with what you do right now. Learn how to handle the damage safely, secure the opening, and get it restored fast.