


DIY Awning Window Glass Repair: Practical Tips
Why Awning Window Glass Replacement Saves You Money and Energy
Awning window glass replacement is a smart, cost-effective way to restore your windows without the expense of a complete window replacement. Here’s what you need to know:
Quick Answer: Awning Window Glass Replacement Overview
- Cost Savings – Glass replacement costs 50-70% less than installing a new window
- Energy Boost – Upgrading to modern glass can improve insulation by up to 71%
- Common Repairs – Cracked panes, foggy double-pane units, and poor insulation
- DIY Cost Range – $200-$800 depending on glass type and size
- Professional Cost – $250-$850+ for complete installation with warranty
- Best For – Windows with sound frames but damaged or inefficient glass
When to Replace Just the Glass:
- The window frame is still in good structural condition
- You have foggy or cracked glass panes
- You want to upgrade to energy-efficient Low-E or argon-filled glass
- You’re looking to save money vs. full window replacement
Awning windows open outward from the bottom, hinged at the top, which makes glass replacement slightly different from other window types. The good news? If you’re comfortable with basic DIY projects and have the right tools, you can tackle this repair yourself and save hundreds of dollars.
I’m Andrew Lukas, owner of Prestige Window and Door Repair, and I’ve helped countless homeowners throughout New York and Connecticut restore their windows through professional repair services. Over the years, I’ve seen how awning window glass replacement can dramatically improve a home’s energy efficiency and comfort without the cost of full window replacement.
Whether you’re dealing with a cracked pane from storm damage or foggy double-pane units that have lost their seal, this guide will walk you through the entire process — from measuring and removing the old glass to installing a new insulated glass unit (IGU) with proper sealing techniques.
 Remove sash by disconnecting operator arm and hinges, 2) Tape and remove old glass by prying glazing beads, 3) Measure opening at three points minus 1/8 inch, 4) Clean frame and apply silicone sealant, 5) Install new IGU with corner seal at upper right, 6) Reinstall glazing beads starting with top horizontal piece, 7) Reattach sash and allow 24-hour cure time - Awning window glass replacement infographic infographic-line-5-steps-elegant_beige")
Check out more info about awning window glass replacement:
Understanding Awning Window Glass Replacement
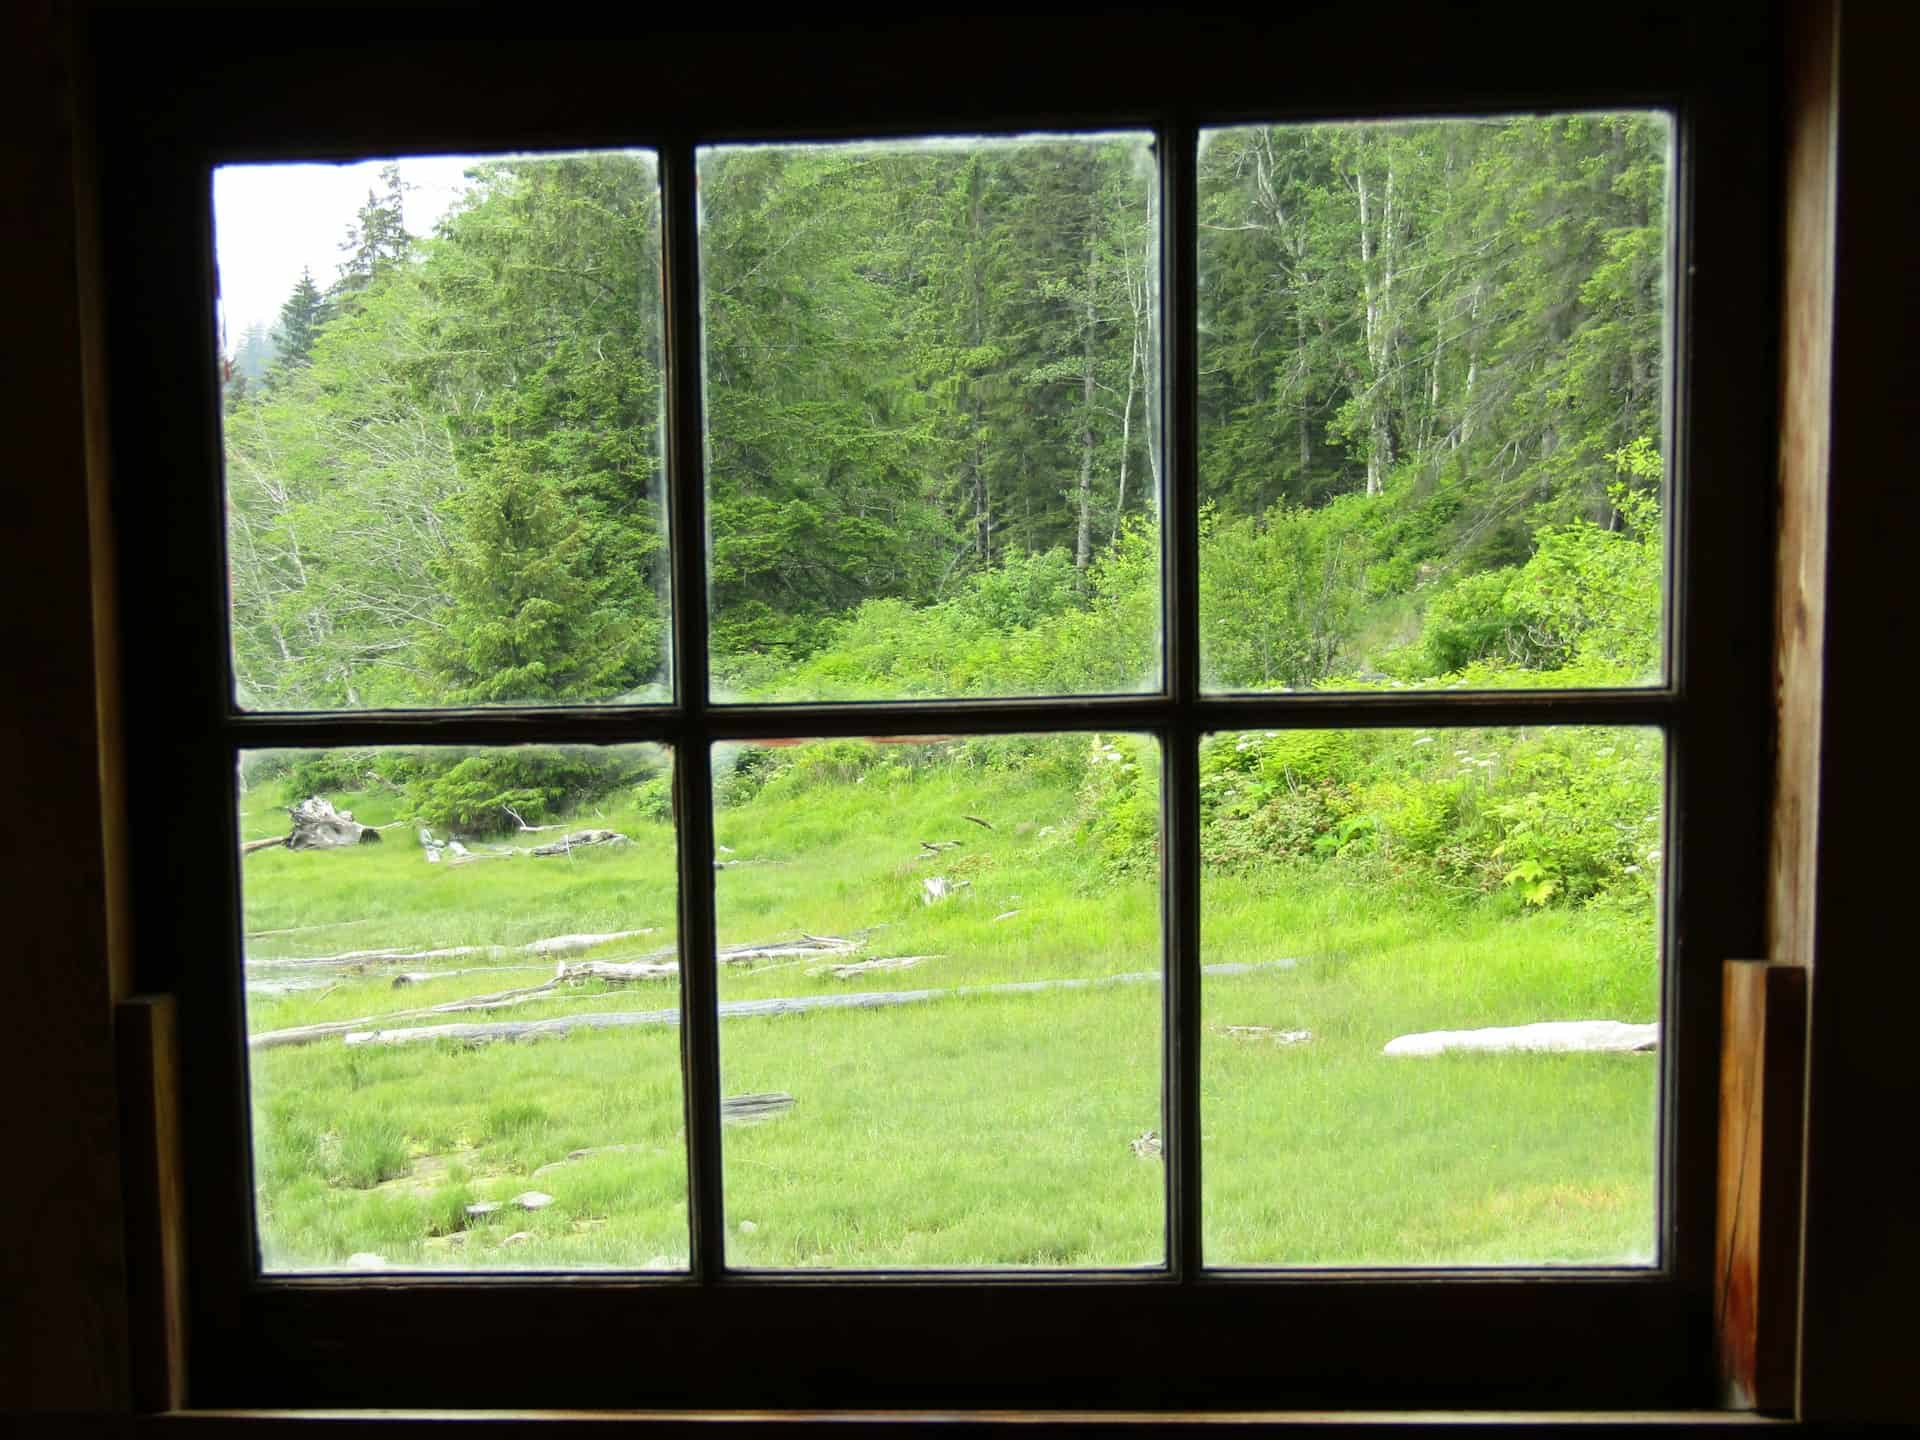
When we talk about awning window glass replacement in Larchmont, NY and surrounding areas, we are focusing on the glass itself rather than the entire frame assembly. This is a crucial distinction for homeowners in areas like Greenwich, CT, or Scarsdale, NY, where high-quality window frames are often built to last decades, even if the glass units fail sooner.
The primary motivation for choosing glass-only replacement is financial. Replacing just the glass pane typically costs 50-70% less than a full window replacement. This is because you avoid the labor-intensive process of tearing out the frame, repairing the surrounding drywall or siding, and installing a completely new unit.
Beyond the initial savings, there is a significant performance benefit. A simple glass replacement can boost your window’s insulation R-level by up to 71%. By upgrading to modern Insulated Glass Units (IGUs) with Low-E coatings and argon gas, you can transform a drafty old awning window into a high-performance thermal barrier.
For more detailed insights into the general process, you can explore our comprehensive guide on window glass replacement.
Identifying the Need for Awning window glass replacement
How do you know it is time to act? In our experience serving coastal Connecticut and Westchester County, the most common reason for awning window glass replacement is seal failure in double-pane windows. This manifests as “foggy” panes — condensation or mineral deposits trapped between the two layers of glass. Once the seal fails, the insulating argon gas escapes, and the window loses its thermal efficiency.
Other common reasons include:
- Impact Cracks: Whether it is a stray baseball in Mamaroneck or a fallen branch during a storm in Rye, physical damage is a clear indicator.
- Thermal Stress: Drastic temperature changes can cause glass to expand and contract unevenly, leading to “stress cracks” that typically start at the edge of the frame.
- Poor Insulation: If your home in Larchmont feels drafty or your energy bills are skyrocketing, your old single-pane glass might be the culprit.
If you are unsure if your window needs a full replacement or just a glass swap, check out our awning window repair resource page for more diagnostics.
Measuring for Awning window glass replacement
Precision is everything. If your measurement is off by even a fraction of an inch, the new glass unit will not fit, or worse, it will fit too tightly and crack under pressure.
When measuring, we use the “three-point” method. Measure the width and height of the opening in three places: the top, middle, and bottom for width; and the left, middle, and right for height. Use the smallest of these three measurements.
To account for thermal expansion and the thickness of the glazing tape or sealant, subtract 1/8 inch from both the final width and height. For example, if your smallest width measurement is 24 inches, you should order a glass unit that is 23 7/8 inches wide.
For a deeper dive into the technical side of measurements, refer to our step-by-step awning window replacement guide.
Essential Tools and Safety Gear
Before you begin, gather your supplies. Working with glass is inherently risky, so we never skip the safety gear.
Essential Safety Gear:
- Glazier Gloves: These are specifically designed to be cut-resistant.
- Safety Glasses: To protect against flying glass shards or old, brittle sealant.
- Long Sleeves and Pants: Extra protection for your limbs.
The Toolkit:
- Putty Knife: For prying out glazing beads and scraping away old sealant.
- Heat Gun: Essential for softening old, hardened glazing compound or adhesive tape.
- Duct Tape: To stabilize cracked glass before removal.
- Silicone Sealant: We recommend a high-quality 100% silicone for a weather-tight seal.
- Glazier’s Points: (For wood frames) These small metal triangles hold the glass in place.
- Suction Cups: These are incredibly helpful for safely lifting and positioning heavy glass units.
For those using specific brands like Andersen, you may need brand-specific replacement components to ensure a perfect match for your hardware.
Step-by-Step Guide to Replacing Awning Window Glass
Replacing glass in an awning window requires a bit more care than a standard hung window because of the top-hinge mechanism and the operator arm (the crank).
1. Sash Removal
First, open the window slightly. Disconnect the operator arm from the sash hook. Depending on your window’s age and brand, you may need to unscrew the arm or simply slide it out of a track. Next, detach the hinges. We always recommend having a partner support the sash while you do this to prevent it from falling.
2. Removing the Glazing Beads
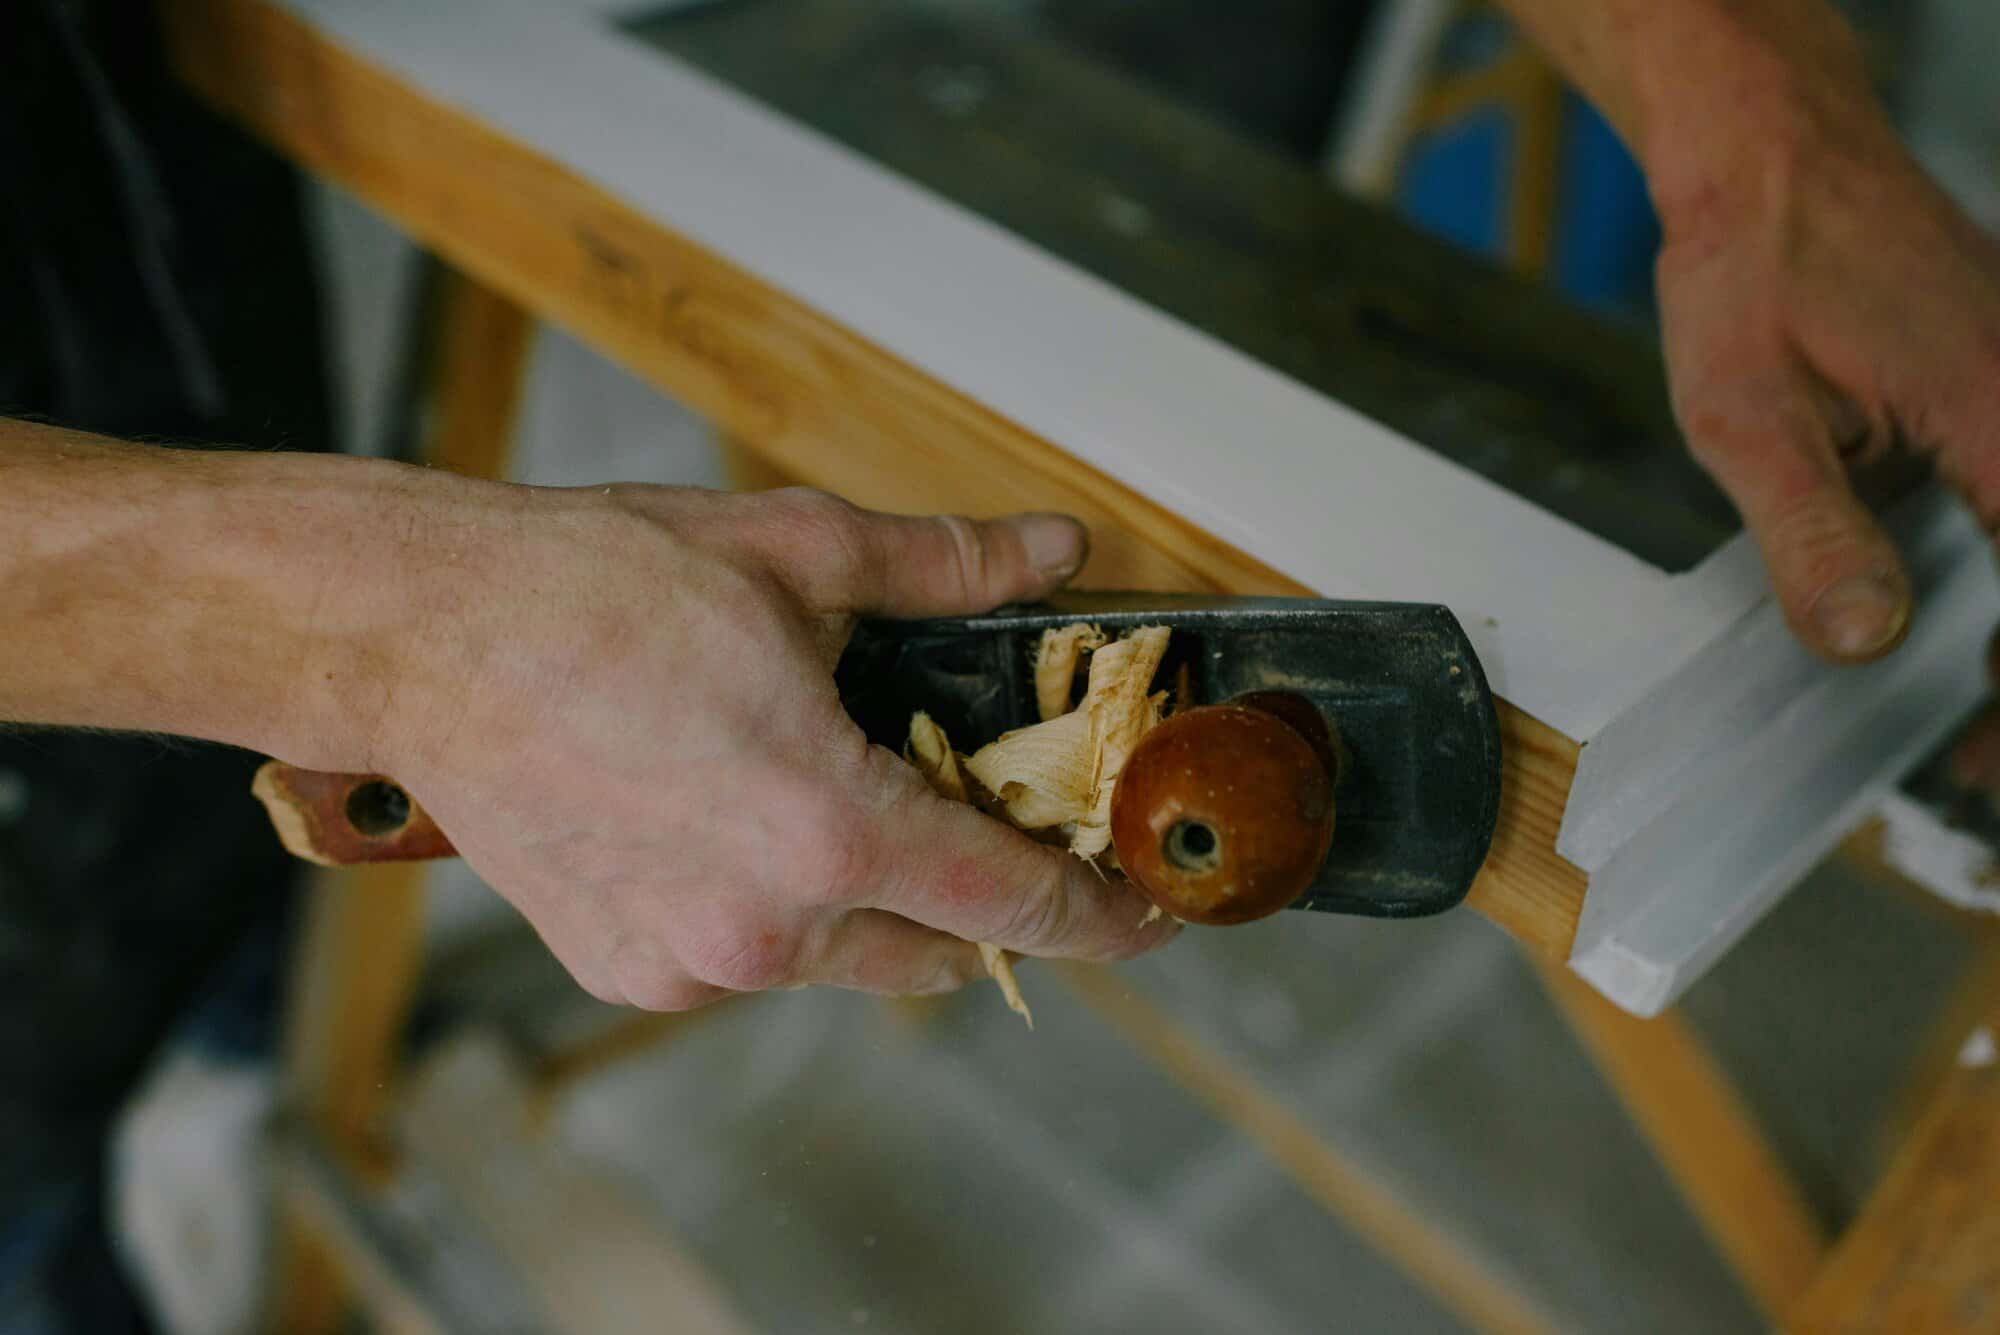
Most modern vinyl or aluminum awning windows use “glazing beads”—strips of plastic or metal that snap into the frame to hold the glass. Use your putty knife to gently pry these out. Start in the middle of a strip rather than at the corner to avoid snapping the plastic. If you have a wood frame, you will likely be removing old putty and glazier’s points instead.
3. Cleaning the Frame
Once the glass is out, the frame “rabbet” (the groove where the glass sits) must be perfectly clean. Use your putty knife and heat gun to remove every trace of old silicone, tape, or putty. Any debris left behind will prevent the new glass from seating properly and may cause a leak.
4. Applying Sealant and Setting Blocks
Apply a 1/4-inch bead of silicone sealant around the interior perimeter of the frame. Place small rubber “setting blocks” at the bottom of the frame. These blocks support the weight of the glass and ensure it remains centered, allowing the frame to expand and contract without stressing the glass.
For those dealing with older wooden frames, you might encounter timber troubles that require frame repairs before the glass can be safely reinstalled.
Removing the Old Glass Safely
Safety is paramount during the removal phase. If the glass is already cracked, apply duct tape in a “star” pattern across the pane on both sides. This keeps the shards together as you handle the unit.
- Vinyl Frames: Be careful not to gouge the vinyl when prying out the beads. If the beads are brittle, they may need to be replaced entirely.
- Wood Frames: Use a heat gun to soften the old putty. Be patient; forcing a putty knife into cold, hard putty is the easiest way to slip and cut yourself or damage the wood.
- Aluminum Frames: These often use rubber gaskets. If the gaskets are in good shape, they can sometimes be reused, though we generally recommend new sealant for a better weather seal.
Installing the New Insulated Glass Unit (IGU)
When your new IGU arrives, check it for a “corner seal” or manufacturer’s label. In many high-performance units, this label should be oriented to the upper right-hand corner to ensure the Low-E coatings are facing the correct direction.
The Installation Sequence:
- Set the Glass: Carefully place the bottom of the IGU onto the setting blocks and then tilt the top into the frame.
- Apply Pressure: Press the glass firmly against the silicone bead you applied earlier.
- Secure the Unit: For wood frames, tap in new glazier’s points every 6 inches. For vinyl or aluminum, snap the glazing beads back into place. Start with the top horizontal bead, then the bottom, and finally the sides.
- Final Seal: Apply a thin bead of silicone around the exterior where the glass meets the frame for extra weatherproofing.
You can find specific awning window replacement parts online if your beads or clips were damaged during the removal process.
Selecting the Best Glass for Your Home
Living in the Northeast means dealing with humid summers and freezing winters. When choosing glass for your awning window glass replacement, consider these options:
- Double-Pane IGU: The standard for modern homes. It features two panes of glass with a spacer and a gas fill (usually Argon) in between.
- Low-E Coating: This is an invisible metallic layer that reflects heat. In the summer, it keeps the sun’s heat out; in the winter, it reflects your home’s heat back inside. Our ecoGAIN Low E glass has a 0.26 U-Factor and blocks 71% of UV rays.
- Argon Gas: This heavy gas provides better insulation than plain air and helps with soundproofing—perfect if you live near a busy road in Norwalk or Stamford.
- Tempered Glass: If your awning window is near a door or low to the floor, building codes in New York and Connecticut often require tempered “safety” glass, which shatters into small, blunt cubes rather than sharp shards.
- Triple-Pane: For maximum efficiency, triple-pane units offer an even higher Energy Rating (ER). For instance, some RevoCell® units jump from an ER of 38 (double-pane) to 48 (triple-pane).
Professional vs. DIY: Making the Right Choice
While DIY awning window glass replacement is a rewarding project, it isn’t for everyone. At Prestige Window and Door Repair, we often step in when the job becomes too complex for a homeowner to handle alone.
When to Call Us:
- Large or Heavy Sashes: If you are working on a large awning window, the weight of the IGU can be dangerous for one person to manage.
- Warranty Concerns: Many glass manufacturers only offer a warranty if the unit is installed by a certified professional.
- Safety Glass Requirements: We stay up-to-date on local building codes in Harrison, Purchase, and White Plains to ensure your home remains compliant.
- Complex Hardware: If your awning window has a multi-point locking system or a complex crank mechanism that seems damaged, professional intervention is safer.
- High-Wind Areas: For homes along the Connecticut shoreline, proper sealing is critical to withstand high-wind performance standards (NAFS).
Frequently Asked Questions about Awning Windows
Can I repair a foggy double-pane awning window?
The short answer is no. Once a double-pane window becomes foggy, it means the perimeter seal has failed and the desiccant (the moisture-absorbing material inside the spacer) is saturated. While some companies offer “defogging” services by drilling holes, this is a temporary fix that compromises the window’s insulation. The only permanent solution is a full IGU replacement.
How do I know if I have single-pane or double-pane glass?
The easiest way is the “flame test.” Hold a lighter or a match near the glass. If you see one reflection of the flame, it is a single pane. If you see two reflections (they may be slightly offset), it is a double-pane unit. You can also look for a metal or foam “spacer bar” between the panes of glass at the edge of the frame.
How long should the sealant cure before I use the window?
Silicone sealant typically becomes “tack-free” within 30 to 60 minutes, but it needs a full 24 hours to cure completely. We recommend leaving the window closed and locked for at least a day after the repair to ensure the seal is not disturbed while it is setting. If it is raining or particularly humid in Port Chester or Mamaroneck, you might want to wait 48 hours before testing the crank mechanism.
Conclusion
Awning window glass replacement is one of the most effective DIY projects you can undertake to improve your home’s value, comfort, and energy efficiency. By choosing to replace the glass rather than the entire window, you are saving money and reducing waste while still getting the benefits of modern glass technology like Low-E coatings and Argon gas fills.
Whether you are tackling a small bathroom window in Scarsdale or a large kitchen awning in Greenwich, the key is preparation. Take precise measurements, use the right safety gear, and don’t rush the sealing process. If you find yourself over your head or dealing with structural frame issues, expert help is just a phone call away.
At Prestige Window and Door Repair, we take pride in serving our neighbors across Connecticut and Westchester County. From New Rochelle to Stamford, we provide the professional touch needed to keep your home’s windows looking and performing their best.
Ready to restore your view? Contact Prestige Window and Door Repair for expert awning window repair in Larchmont, NY and beyond today, and let us help you achieve a more comfortable, energy-efficient home.
Let our on-site experts handle all your repair and replacement needs!
other posts
Clear Views Ahead: Replacing Your Jalousie Window Panes
Learn all about louvre window glass replacement in Greenwich, CT: follow our step-by-step DIY guide for perfect fit. Contact Prestige Window and Door Repair!
Window Frame Repair: Repairing Rot, Warping, and Structural Damage
Window frame repair is more than surface work. Understand how rot progresses, what warping signals, and how professionals bring damaged frames back.
Glazier Near Me: What a Professional Glazier Does and How They Restore Damaged Windows
Searching for a glazier near me? Learn what professional glaziers actually do, how their work differs from general repairs, and what to look for locally.

Broken Window Repair: Quick Steps to Secure Your Home and Restore Safety
Broken window repair starts with what you do right now. Learn how to handle the damage safely, secure the opening, and get it restored fast.
Sliding Glass Door Repair: Fixing Sticking Tracks, Broken Rollers, and Misalignment
Sliding glass door repair starts with knowing what's causing the problem. Learn what's behind sticking tracks, worn rollers, and misalignment.